


Turbocharger assembly instructions


Turbocharger assembly instructions
Before installing a new turbocharger always check and eliminate the reasons for the failure of an old one.
1. Check cleanliness and patency of air intake system including manifold and verify if the lines are not broken. Replace the filters.
2. Check if the oil supply and drain lines are clean, without cracks, patent and free inside from deposit of coal and residue. Clean if necessary or exchange for the new ones. In case of flexible lines check if the inside is intact. Verify that the oil supply line is not too close to the heat source and that the thermal shield is not damaged by heat or mechanically.
3. Replace oil and filter according to car maker’s guidelines.
4. Check the engine venting system – it needs to be clean and efficient.
5. Remove broken washers and use new ones for assembly.
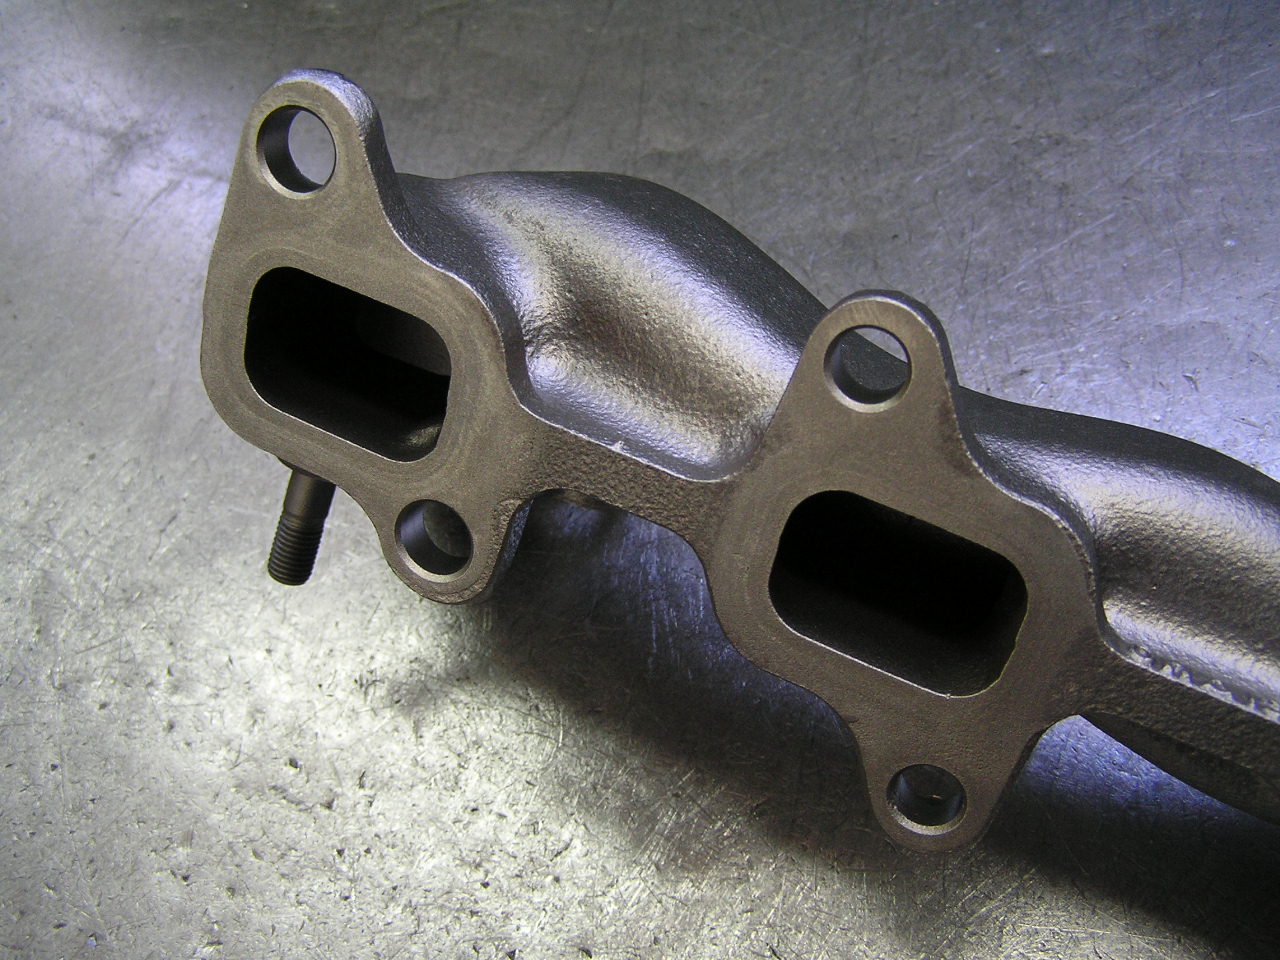
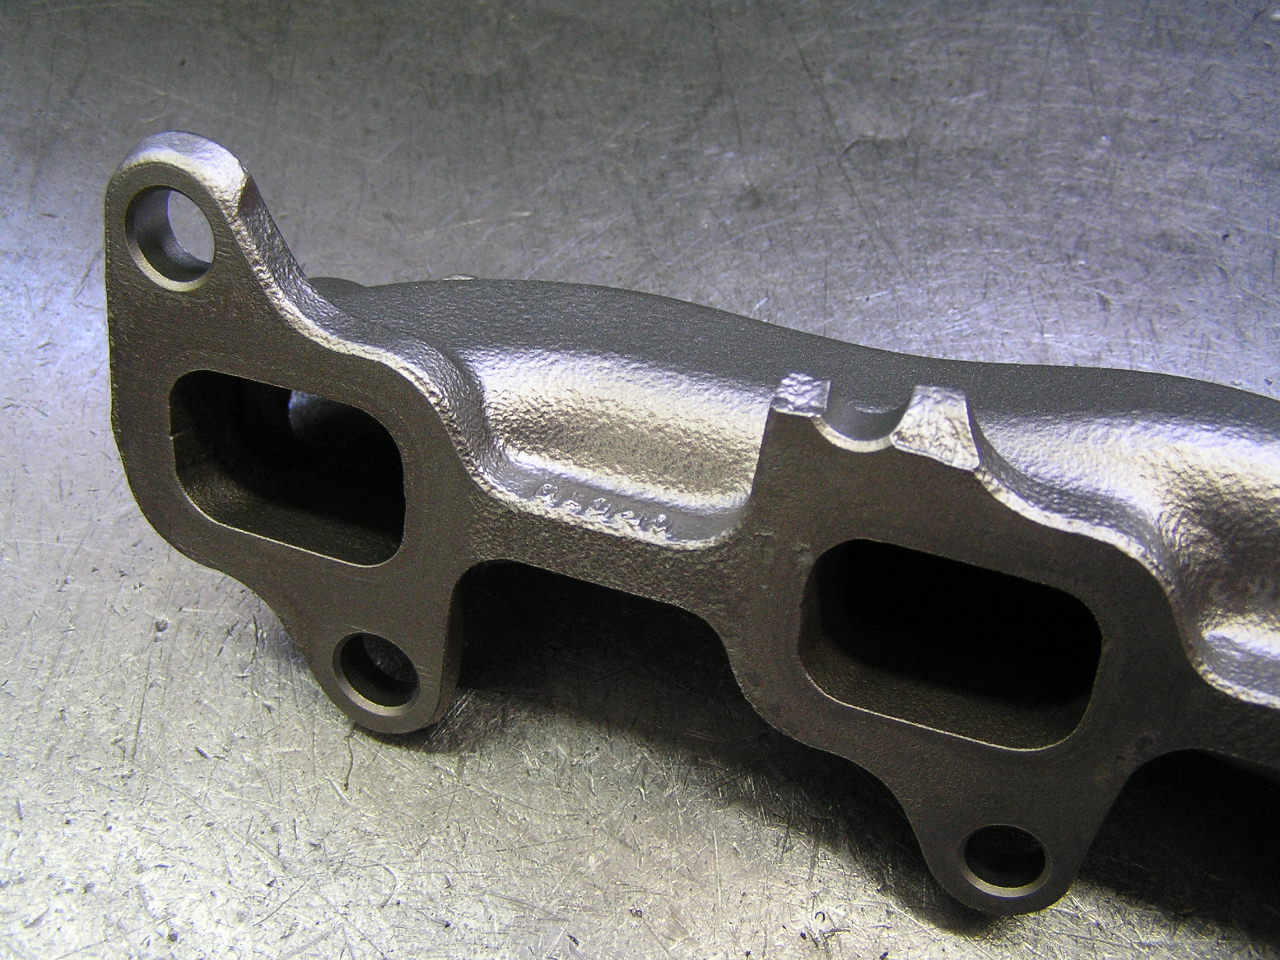
6. Check the condition of the exhaust manifold including fixing bolts (impurities, cracks), clean and in case of doubt replace with new ones.
|
The exhaust manifold is suitable for further use. |
The exhaust manifold is not suitable for further use. |
7. Matched the position of the casings. Make sure that all washers are in place and tighten all fastenings with the appropriate force.
8. Assemble the turbocharger on the manifold or side of the engine using bolts of suitable specification, resistant to high temperature. During the installation make sure that that there is no tension on the turbocharger or connected lines. Tighten all bolts and nuts maintaining the torque values given in the vehicle’s manual.
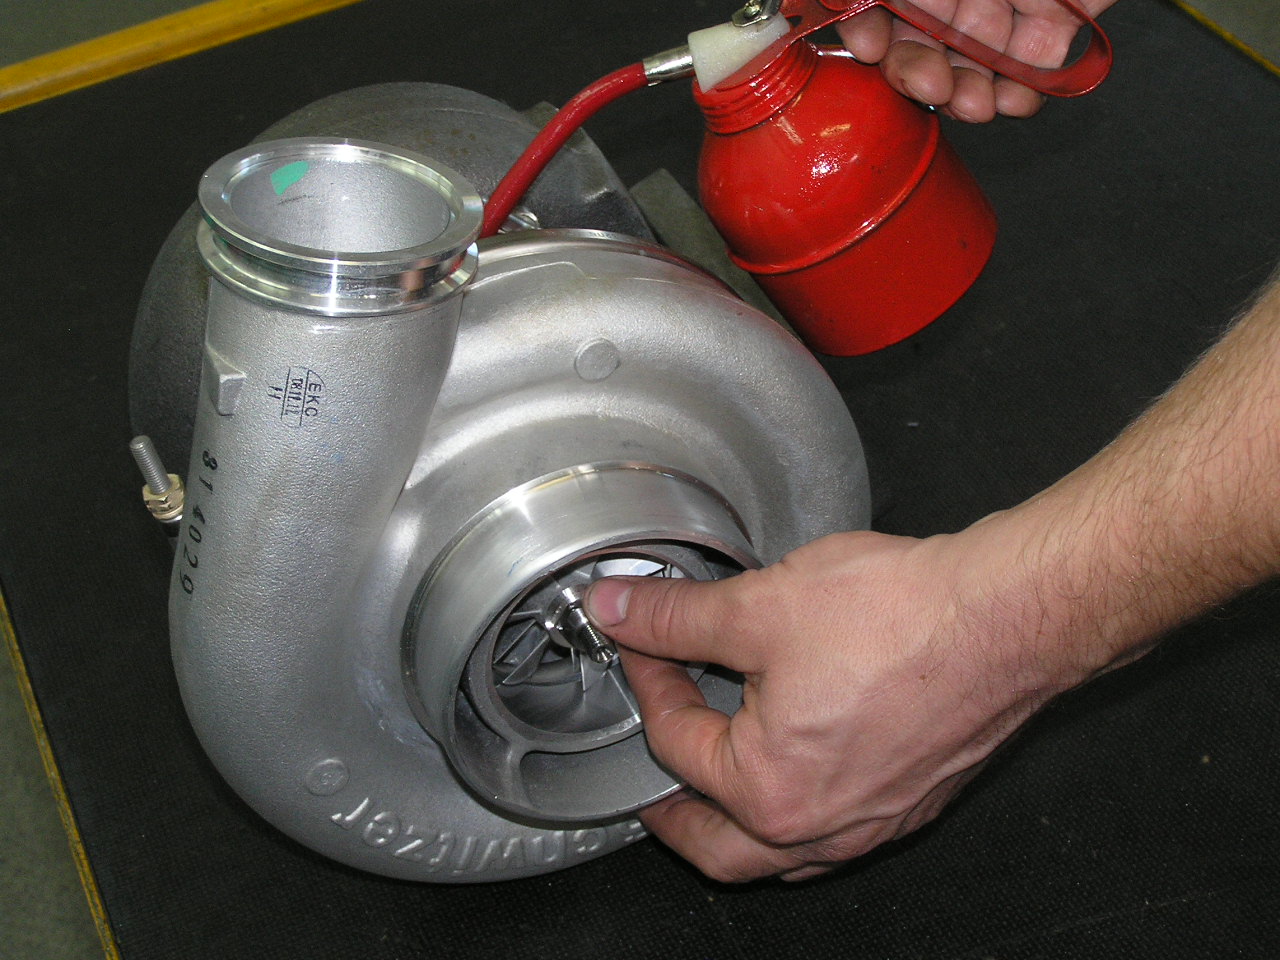
9. Connect the oil draining line and fill the turbocharger’s oil inlet with clean engine oil in the same time manually turning the rotor.
|
|
|

10. Connect remaining parts to the turbocharger.
11. If possible keep turning the engine’s crankshaft for some 10-15 seconds without starting it or start the engine for a few seconds in order to fill up with oil the lines and turbocharger itself.
12. Start the engine and leave it running on neutral without accelerating.
13. Verify that all installations’ connections (air, oil, exhaust) are tight and free from leakages.
14. Stop the engine and once more check the oil level.
PRACTICAL ADVICES
1. Modification of turbocharger’s adjustment valve settings may lead to turbocharger’s damage.
2. Oil washers need to be of appropriate size.
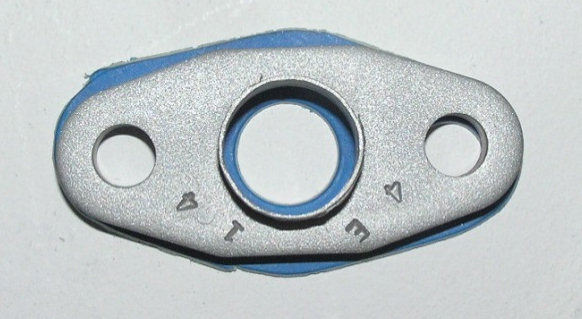
When the washer covers part of the hole it decreases the flow of oil to the turbocharger. If a piece of material breaks off it can completely block the flow of oil.
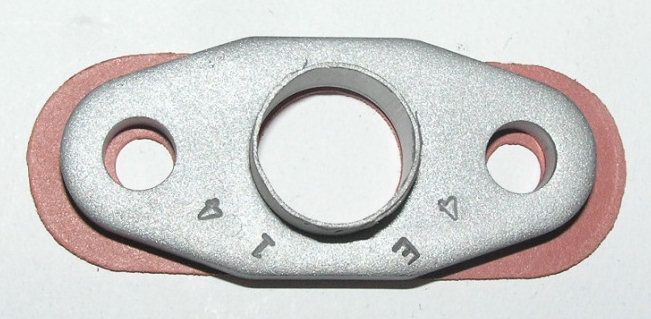
Properly matched washer.
IT IS NOT ALLOWED to use silicone for fixing the washers because the excess of material may break off, decreasing or blocking the oil flow.
3. It is important to use correct type and amount of oil, keeping to vehicle maker’s instructions.
4. During assembly of turbocharger only use torque values as given in the instruction manual.
5. Protect the inside of the turbocharger against penetration of dirt and waste during the assembly.
6. Before fixing the turbocharger make sure that its number is appropriate for the engine.
7. Verify that the oil level is correct.
|
| The correct oil level but damaged or clogged drain pipe causing an oil spill from the turbocharger. |
Oil level too high (above the point of run-off) blocks the flow of oil from oil spills, causing the turbocharger oil leaks |
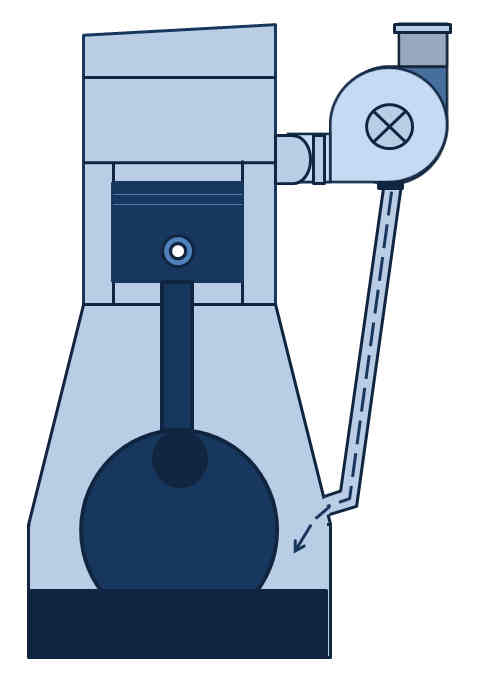
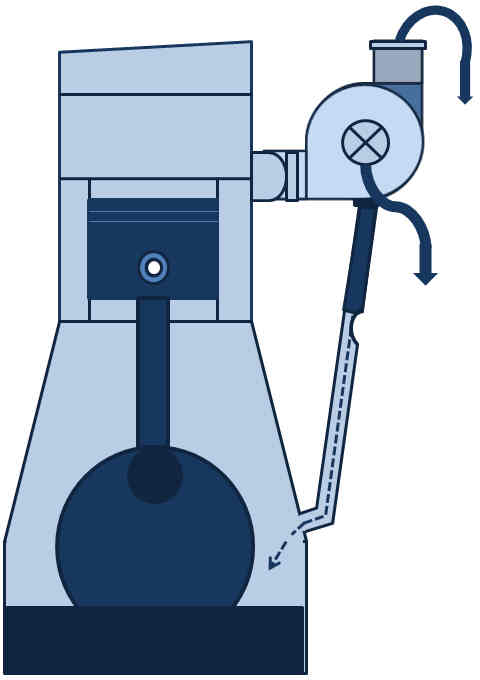

8. High pressure in the crankcase may stop the oil drain and lead to leakage from the turbocharger. High pressure may be caused by blow-through in the piston assembly, cylinder head or clogged venting system.

9. Due to high temperature it is not allowed to touch the turbocharger during and directly after the start.
10. Due to quick rotation it is not allow the keep in direct proximity or put any thing into the turbocharger’s holes.
11. Water with soap may be used to detect leakages in air or exhaust systems.


